Aaron Liew's Blog

Blog about Android Development

Progress Bar and Action Bar

Each of android application has its own unique icon. In AndroidManifest.xml, “android:icon=”@drawable/ic_launcher” means the application icon refers to the image at the directory of /drawable/ic_launcher. Therefore, application icon can be changed by overwrite the image at this directory. The image can be overwritten by creating the new android icon and browse image from directory of downloaded image. The result is shown in the figure below.

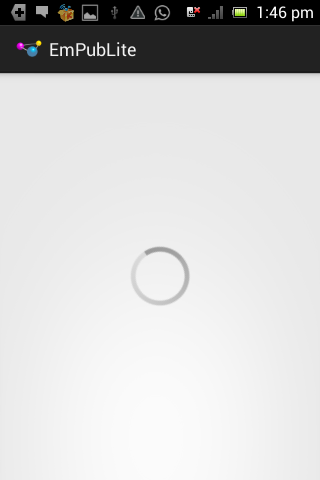
Progress bar is the indicator of the progress of an activity. It can be done by dragging the progress bar into the UI. In order to show progress bar at center of the application, the code “android:layout_centerInParent=”true”“ was added into the main.xml file. The result is shown in the figure below.
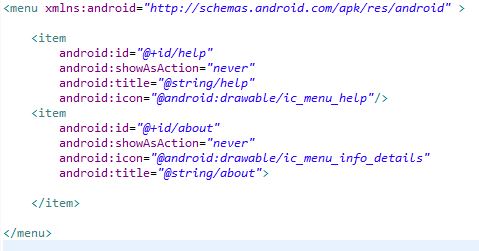
The purpose of action bar in this android application is to allow user to access to the help/about. Therefore, external library “ActionBarSherlock” was added to add action bar into the application. The id, icon, and title of the help and about of the menu were set in menu/option.xml file. The code of option.xml is shown in the figure below.

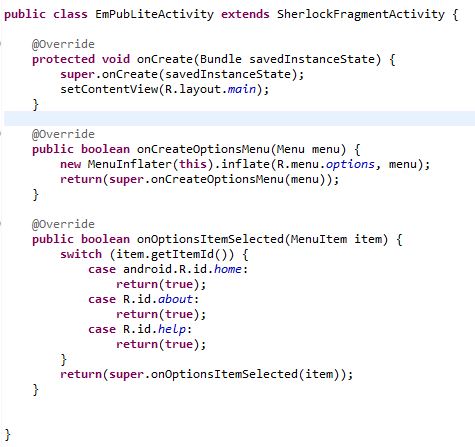
Next, in the src/main activity java file, the class was extended with SherlockFragmentActivty. The method onOptionsItemSelected was created to perform the action once user clicks on the help/about in the menu. The code of main activity java file is shown below.

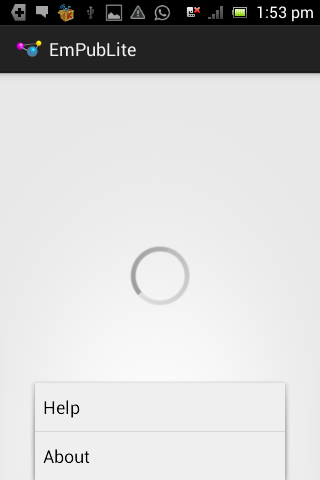
When user clicks on the menu button, the result is illustrated as follows:
Android App: Interaction Between Two Activities

First of all, user will insert text into the textbox and press the ‘send’ button. In MainActivity class, the ‘intent’ object store the values. Next, the DisplayMessageActivity will display the message which is inserted by the user. In order to have clearer picture on the operation of Android app and interactions between classes, I have created the charts as shown below.

The result is shown in figure below.

Blogging With Octopress

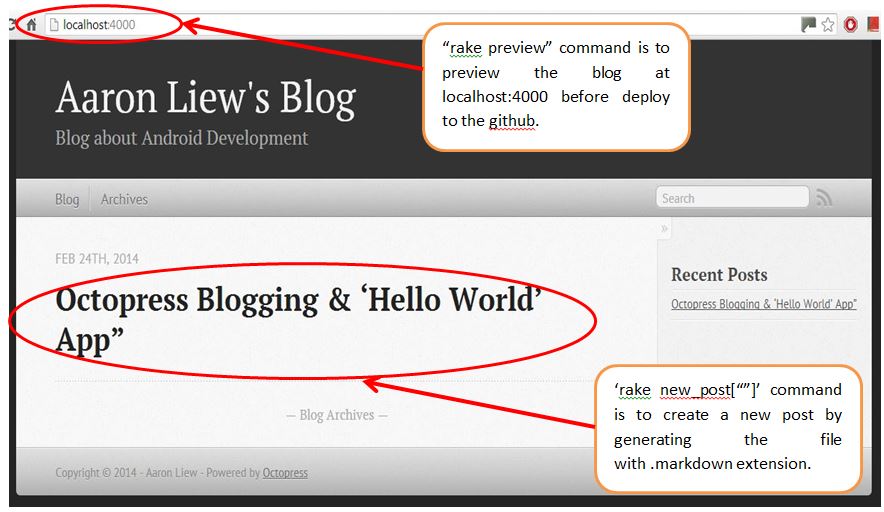
Today, my primary task was to create blog using Octopress in order to write down the progress of my android development. First of all, after setup the Octopress, there are two commands needed to create the .MarkDown extension file, set the title of the post, and preview the blog : rake preview and rake new_post. The explanation of the commands is shown in the figure below.

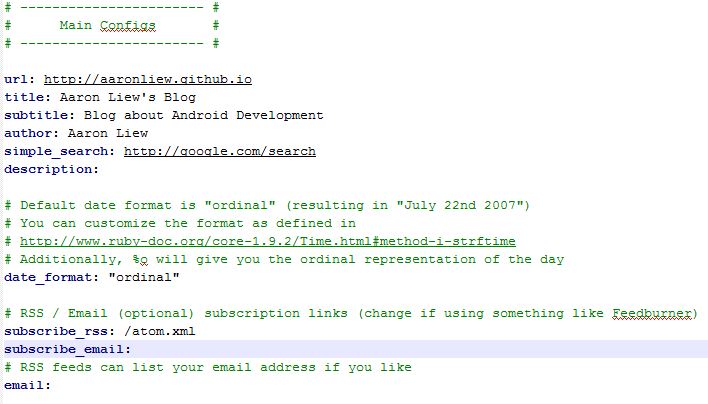
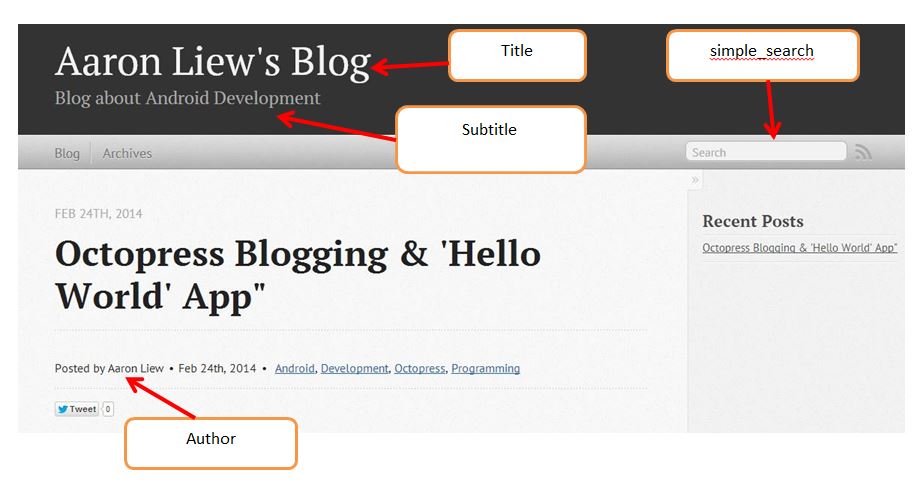
After creating the new post, I have made amendments in _config yml file in order to configure the title, subtitle and author of the blog. The code of yml file is shown in the figure below.

The definition of the respective code in the _config yml file is shown in figure below.

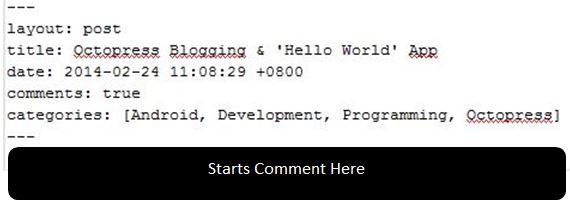
Next, to set the title, comments and category of the the blog, I have modified the coding of the file with MarkDown extension as shown below.

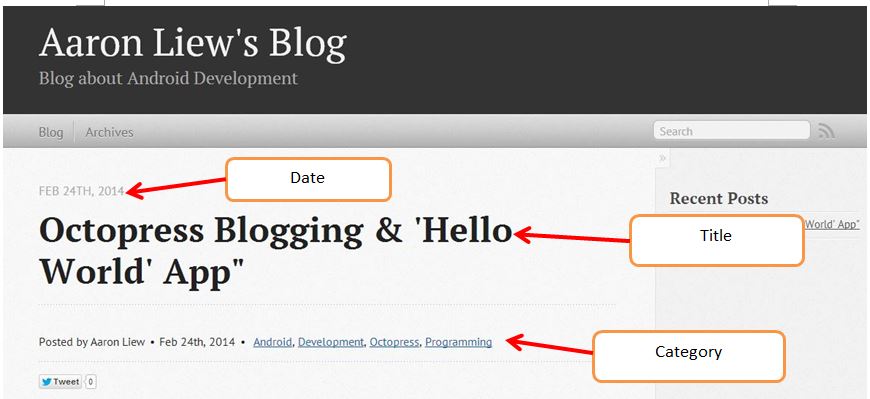
The definition of the respective code in the .MarkDown extension yml file is shown in figure below.